Mastering the Skill of Making Homemade Butter and Cheese

Making homemade butter and cheese may seem like a daunting task, reserved only for professional chefs or old-fashioned country folk. However, with the right knowledge and tools, mastering the skill of making these dairy staples at home is easier than you think. Not only is it a fun and rewarding activity, but it also allows you to control the ingredients and customize the flavor to your liking. In this article, we will guide you through the process of making homemade butter and cheese, from purchasing quality ingredients to adding your own unique touch. Let’s get started!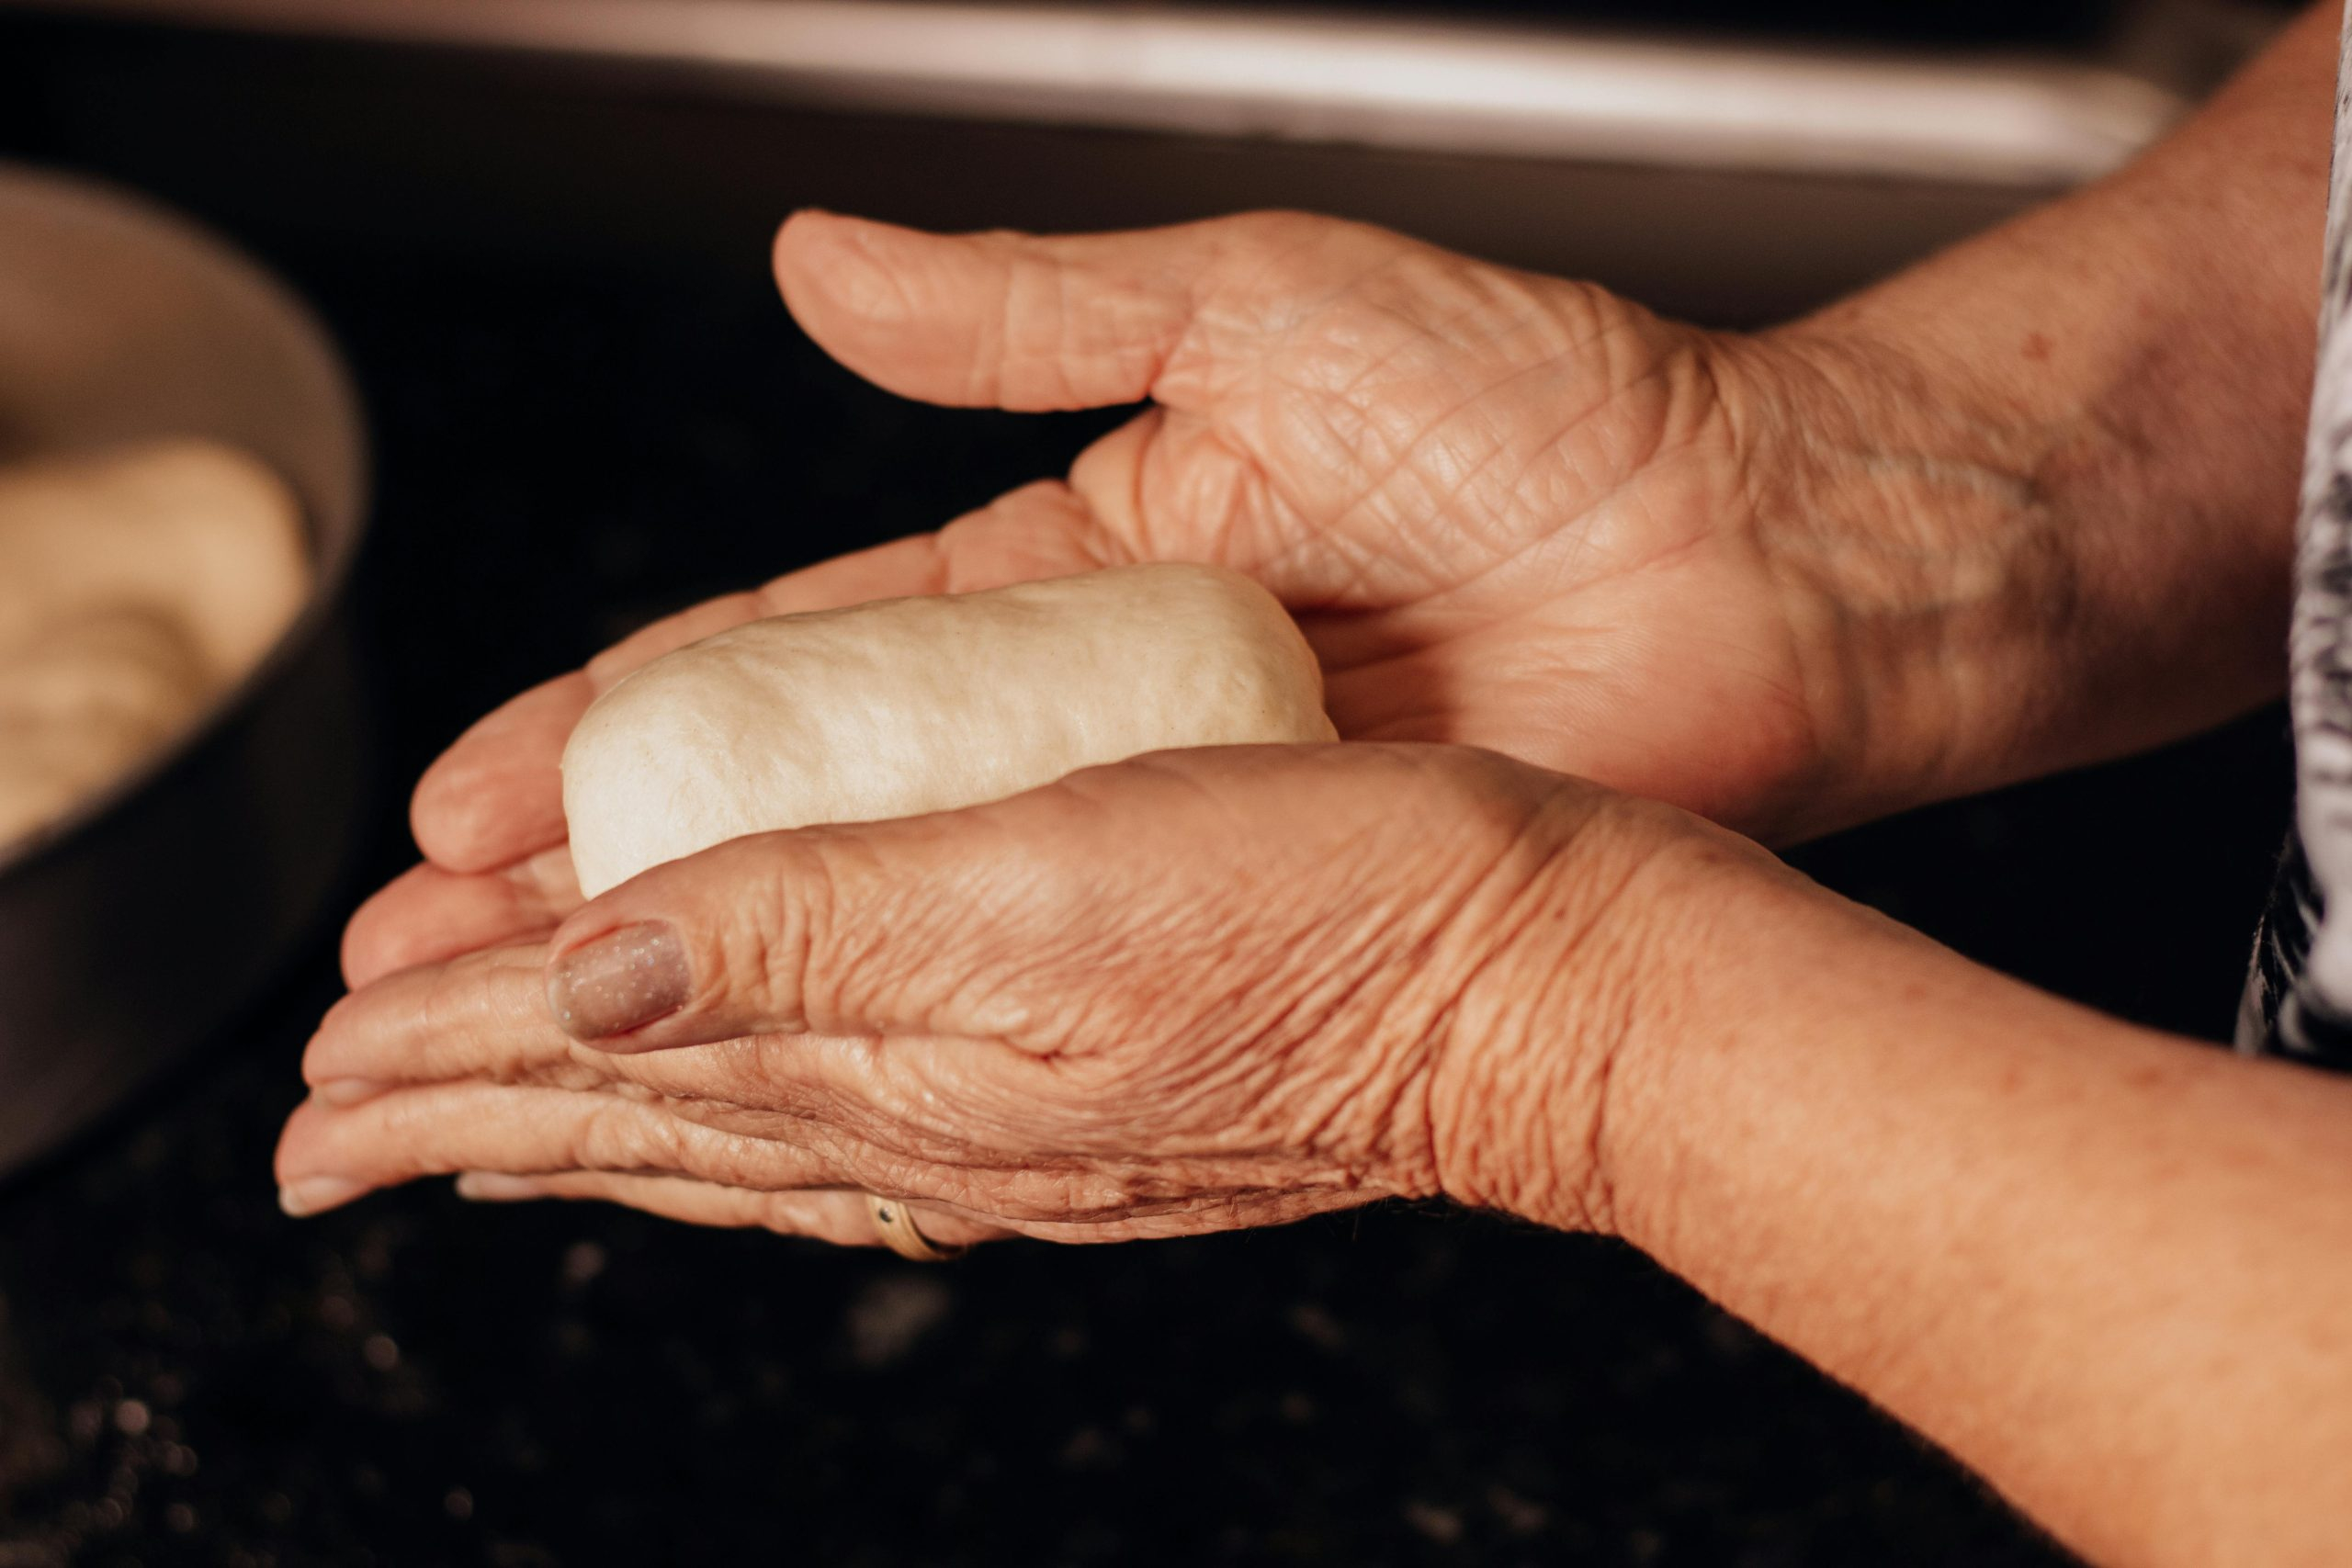
The Basics of Making Homemade Butter
Before we dive into the specifics, it’s important to understand the basics of making butter at home. Butter is made from churning cream, which separates the fat from the liquid. This process can be done by hand, using a jar or mixer, or with a specialized butter churn. Whichever method you choose, the basic steps remain the same – agitate the cream until it turns into butter and then remove the excess liquid.
Choosing the Right Cream
The first step in making homemade butter is choosing the right cream. It’s crucial to use heavy cream or heavy whipping cream, as these have a higher fat content and will produce a richer and creamier butter. If possible, opt for organic or grass-fed cream, as these will result in a better-tasting final product.
The Churning Process
As mentioned earlier, there are various methods for churning cream into butter. If using a jar or mixer, simply pour the cream into the container and shake or mix until butter forms. This can take anywhere from 15-30 minutes, so be patient. Another option is to use a butter churn, which is specifically designed for this task and can save you time and effort.
Removing Excess Liquid
Once the butter has formed, you will need to remove the excess liquid, also known as buttermilk. This is an important step, as leaving too much buttermilk in the butter could cause it to spoil faster. To remove the buttermilk, pour the butter into a strainer and use a spatula or back of a spoon to press out any remaining liquid.
Salt or No Salt?
Add a pinch of salt to your butter and mix it in to enhance the flavor. This step is optional, so feel free to experiment and see what works best for you. For a sweeter butter, you could also add a touch of honey, maple syrup, or cinnamon for a unique twist.
The Ins and Outs of Making Homemade Cheese
Similar to butter, cheese can also be made at home with a few basic ingredients and equipment. The process involves curdling milk, separating the curds from the whey, and then pressing and aging the curds to create the desired cheese. While there are endless types of cheese, we will focus on the most common – cheddar cheese.
Choosing the Right Milk
The type of milk you use will greatly affect the final flavor and texture of your cheese. For a classic cheddar, whole milk is recommended, but you can also use 2% or skim milk for a lower-fat option. Again, organic or grass-fed milk is preferred for a more natural and flavorful cheese.
The Curdling Process
To begin the cheesemaking process, heat the milk in a large pot and stir in a small amount of acid, such as lemon juice or vinegar. As the milk heats, it will begin to curdle, forming solid curds and liquid whey. Stir the mixture gently to help the curds separate from the whey.
Draining and Pressing the Curds
Once the curds have separated from the whey, strain them through a cheesecloth-lined colander. Let the curds drain for a few minutes, and then transfer them to a mold or press to shape the cheese. If you don’t have a mold, you can use a clean towel and shape the cheese by hand. After shaping, press the cheese firmly to remove any excess whey.
Aging Your Cheese
The final step in making cheddar cheese is aging it. This process allows the flavors to develop and gives the cheese its signature texture. Place the cheese in a cool, dry place and turn it every few days to prevent mold from forming. The longer you age your cheese, the sharper and more intense the flavor will become. Typically, cheddar cheese is aged for 3-9 months.
Incorporating Your Own Personal Touch
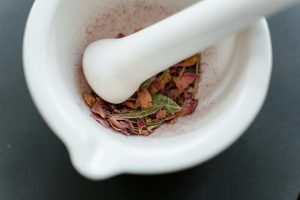
Now that you have mastered the basics of making homemade butter and cheese, don’t be afraid to get creative and add your own personal touch to these dairy staples. You can experiment with different herbs and spices, such as garlic, thyme, or rosemary, to create unique and flavorful variations. You can also use different types of milk, such as goat or sheep’s milk, to create a diverse range of cheeses.
Making homemade butter and cheese is not only a practical skill, but it also allows you to connect with your food in a whole new way. So next time you’re at the grocery store, skip the prepackaged butter and cheese and try making your own at home. Your taste buds (and wallet) will thank you!