Mastering the Art of Making Homemade Fruit Jams
Are you tired of spending countless amounts of money at the grocery store on fruit jams? Do you want to learn how to make your own homemade fruit jams that are not only healthier, but also more delicious than store-bought versions? Look no further, as we will guide you through the art of making homemade fruit jams that will elevate your breakfast, baked goods, and even your cocktails. With just a few simple steps, you can become a master jam maker in no time.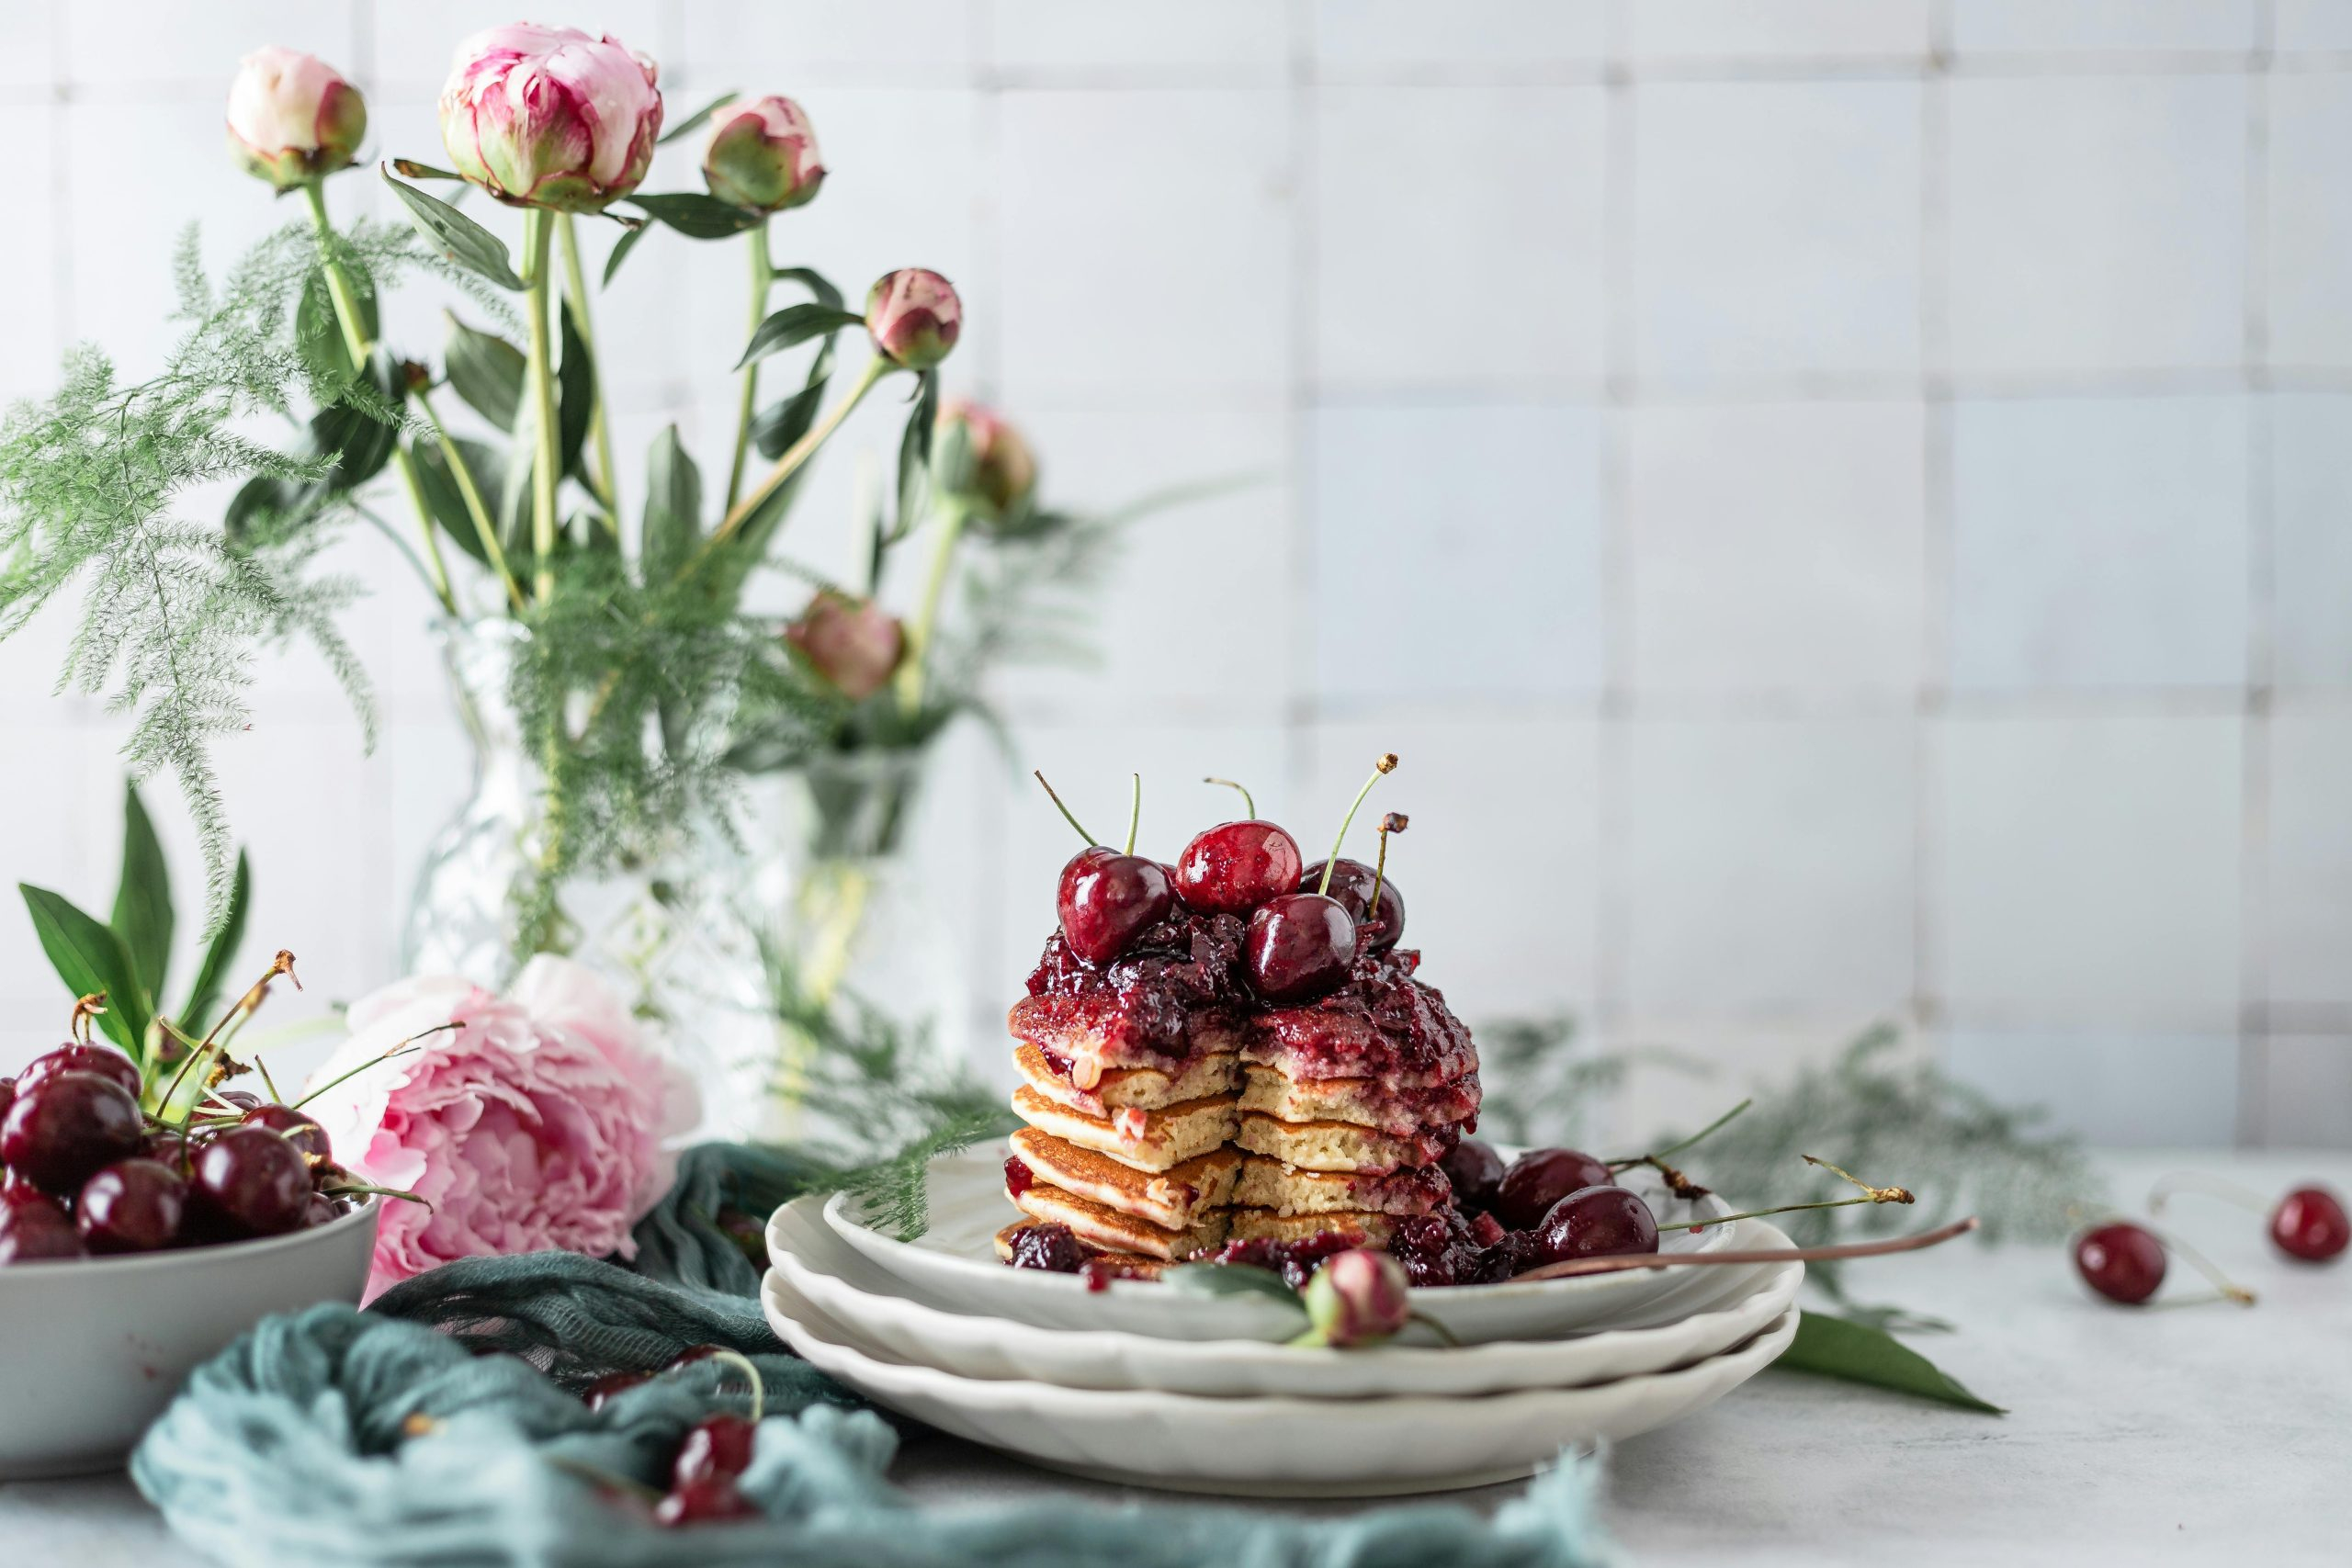
Why Make Homemade Fruit Jams?
Making homemade fruit jams has been a tradition passed down from generations to generations. There is just something special about digging into a jar of jam that you have lovingly made yourself. Not only does it have a personal touch, but it is also a great way to preserve the abundance of fruits during harvest season. Moreover, homemade jams do not contain any preservatives or added sugars, making them a healthier option for you and your family. But most importantly, they just taste better.
Choosing the Right Fruits
The key to making delicious and flavorful homemade fruit jams is to use fresh and ripe fruits. You can pick your own fruits from your garden or local farm, or simply purchase them from your local farmer’s market. Avoid using overripe or underripe fruits as they can affect the taste and texture of your jam. Strawberries, raspberries, blueberries, and peaches are some of the popular choices for homemade jams, but you can also experiment with other fruits such as figs, plums, and even tomatoes.
Prepare Your Ingredients
Before you start making your homemade fruit jam, make sure you have all the necessary ingredients and equipment ready. You will need fresh fruits, sugar, lemon juice, and pectin (a natural thickening agent found in fruits). As for equipment, you will need a large pot, a wooden spoon, sterilized jars, and a canning rack. It is crucial to sterilize your jars and lids before filling them with jam to prevent any bacteria growth.
Mastering the Jam Making Process
Now that you have everything ready, it is time to start making your homemade fruit jam. The process is quite simple, but it does require a bit of patience. Start by preparing your fruits, removing any stems, seeds, or pits, and cutting them into small pieces or mashing them, depending on the fruit. In a large pot, combine the fruit, sugar, and lemon juice, and bring it to a boil. Make sure to stir constantly to prevent the mixture from sticking to the bottom of the pot. Once the mixture reaches a rolling boil, add the pectin and continue to stir for another minute. Turn off the heat and let the jam cool for a few minutes. This is the perfect time to skim off any foam that has formed on the surface.
Storing Your Homemade Fruit Jam
Once you are satisfied with the consistency of your jam, it is time to transfer it into the sterilized jars. Using a funnel, carefully fill the jars leaving about 1/4 inch of headspace. This is important to allow the jam to expand as it cools. Wipe the rims of the jars with a clean, damp cloth and seal them tightly with the lids. Place the jars in a canning rack and submerge them in boiling water for about 10 minutes. This will ensure that your jam is properly sealed, and it can be stored for up to a year in a cool, dry place. Once opened, make sure to store the jam in the fridge.
Final Thoughts
Making homemade fruit jams is an art that requires some practice and experimentation. You can try different combinations of fruits, sugars, and spices to find your perfect blend. But remember, the key is to use fresh, ripe fruits and to have patience in the process. With our guide, you are now ready to become a master jam maker and impress your family and friends with your delicious homemade jams. So go ahead and give it a try, and taste the difference in every bite!